| - |
Enter Primary SIP Server 'voip.ody.ca' |
| - |
Set NAT Traversal to 'Keep-Alive' |
| |
| - |
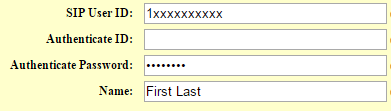
Enter the login details into the following fields: |
|
- SIP User ID (Username)
- Authenticate Password (SIP Password)
- Name (Call Display Name)
|
| |
| |
| - |
Set Outgoing Call without Registration to 'No' |
| |
| - |
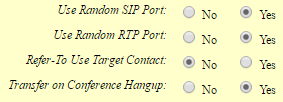
Set the following options to 'Yes' |
|
- Use Random SIP Port
- Use Random RTP Port
- Transfer on Conference Hangup
|
| |
| - |
Set Allow Incoming SIP Message from SIP Proxy Only to 'Yes (no direct IP calling if Yes)' |
| |
| - |
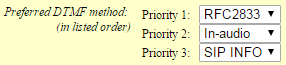
Choose the following Preferred DTMF method priorities |
|
- Priority 1: RFC2833
- Priority 2: SIP INFO
- Priority 3: In-audio
|
| |
| - |
Set Enable Call Features to 'No' |
| |
| - |
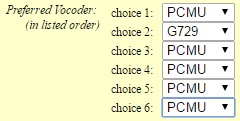
Choose the following Preferred Vocoder: (in listed order) |
|
- Choice 1: PCMU
- Choice 2: G729
- Choice 3: PCMU
- Choice 4: PCMU
- Choice 5: PCMU
- Choice 6: PCMU
|